Login with Google
To enable Google Auth for your project, you need to set up a Google OAuth application and add the application credentials to your Supabase Dashboard.
Overview
Setting up Google logins for your application consists of 3 parts:
- Create and configure a Google Project on the Google Cloud Platform Console
- Add your Google OAuth keys to your Supabase Project
- Add the login code to your Supabase JS Client App
Steps
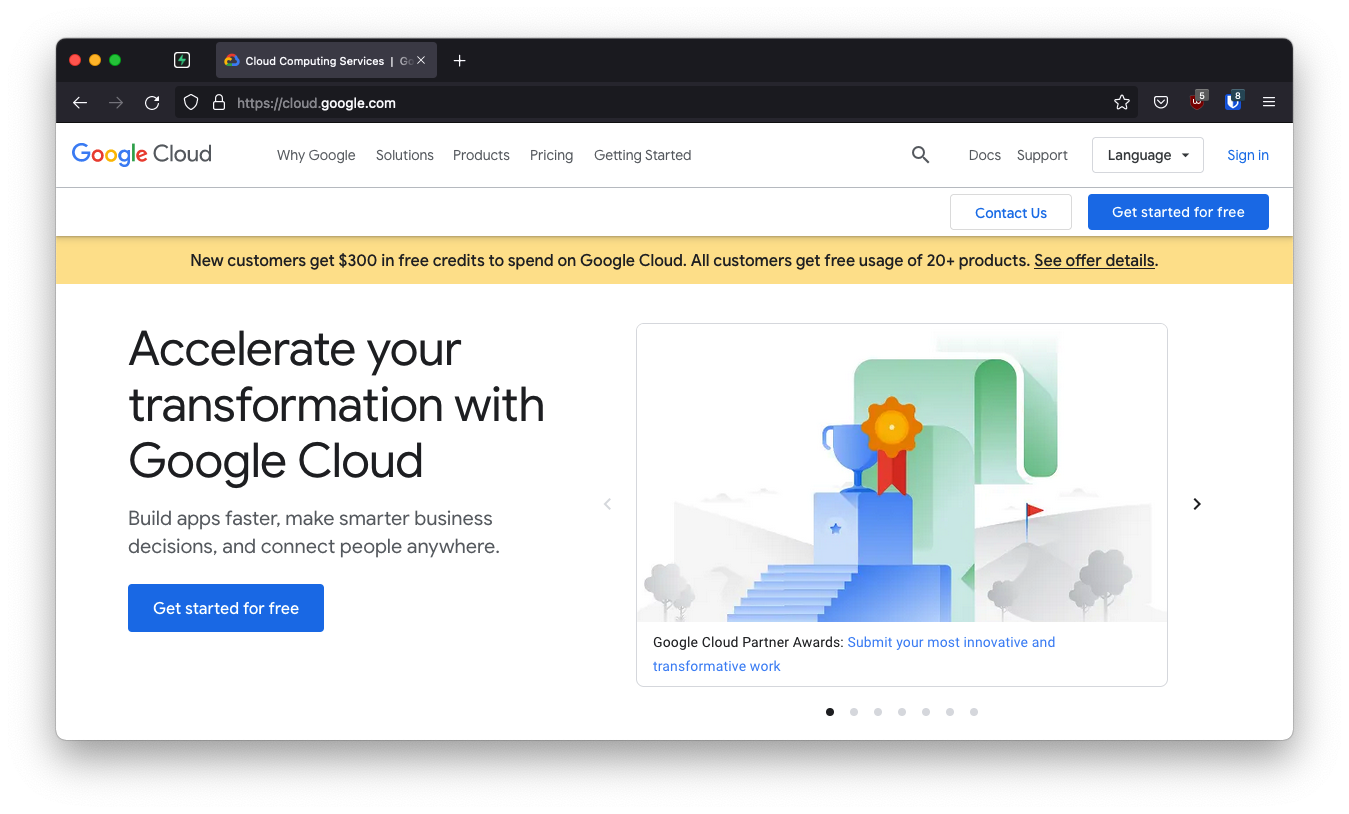
Access your Google Cloud Platform account
- Go to cloud.google.com.
- Click on
Sign inat the top right to log in.

Create a Google Cloud Platform Project
- Click on
Select a Projectat the top left.- (Or, if a project is currently selected, click on the current project name at the top left.)
- Click
New Projectat the top right. - Fill in your app information, then click
Create.- (This can take a few minutes.)
- This should bring you to the dashboard for your new project.
Create the OAuth Keys for your project
From your project's dashboard screen:
- In the search bar at the top labeled
Search products and resourcestypeOAuth. - Click on
OAuth consent screenfrom the list of results. - On the
OAuth consent screenpage selectExternal. - Click
Create.
Edit your app information
- On the
Edit app registrationpage fill out your app information. - Click
Save and continueat the bottom.
Find your callback URL
The next step requires a callback URL, which looks like this:
https://<project-ref>.supabase.co/auth/v1/callback
- Go to your Supabase Project Dashboard.
- Click on the
Settingsicon at the bottom of the left sidebar. - Click on
APIin the list. - Under Config / URL you'll find your API URL, you can click
Copyto copy it to the clipboard. - Now just add
/auth/v1/callbackto the end of that to get your fullOAuth Redirect URI.
Create your credentials
- Click
Credentialsat the left to go to theCredentialspage - Click
Create Credentialsnear the top then selectOAuth client ID - On the
Create OAuth client IDpage, select your application type. If you're not sure, chooseWeb application. - Fill in your app name.
- At the bottom, under
Authorized redirect URIsclickAdd URI. - Enter your callback URI under
Authorized redirect URIsat the bottom. - Enter your callback URI in the
Valid OAuth Redirect URIsbox. - Click
Save Changesat the bottom right. - Click
Create.
Copy your new OAuth credentials
- A box will appear called
OAuth client created. - Copy and save the values under
Your Client IDandYour Client Secret.
Enter your Google credentials into your Supabase Project
- Go to your Supabase Project Dashboard
- In the left sidebar, click the
Authenticationicon (near the top) - Click
Settingsfrom the list to go to theAuthentication Settingspage - Enter the final (hosted) URL of your app under
Site URL(this is important) - Under
External OAuth ProvidersturnGoogle Enabledto ON - Enter your
Google Client IDandGoogle Client Secretsaved in the previous step - Click
Save
Add login code to your client app
The JavaScript client code is documented here: Supabase OAuth Client Code
const { user, session, error } = await supabase.auth.signIn({
  provider: 'google',
})
Add this function which you can call from a button, link, or UI element.
async function signInWithGoogle() {
  const { user, session, error } = await supabase.auth.signIn({
    provider: 'google',
  })
}
To log out:
async function signout() {
  const { error } = await supabase.auth.signOut()
}